
What's in this roadmap
- Why packing goes wrong without a system
- Before you start: what you need on hand
- Step 1: Start early with a room-by-room timeline
- Step 2: Declutter before you pack (sell, donate, discard)
- Step 3: Get the right supplies (boxes, tape, and padding)
- Step 4: Pack room by room and label everything
- Step 5: Protect fragile and valuable items
- Step 6: Pack an essentials and first-night box
- Step 7: Handle the heavy and awkward items (furniture, appliances)
- Step 8: Load smart and keep an inventory
- A worked example: packing an illustrative 2-bedroom move
- How the packing weeks break down
- Common packing mistakes that cost you
- Troubleshooting: when packing meets reality
- Run your own packing plan
- Your packing checklist
- The bottom line
Short answer: Pack for a move with an eight-step system: start four to six weeks out, declutter first, gather supplies, pack rarely used rooms first and daily essentials last, wrap fragile items properly, label every box by room and contents and number it against an inventory, keep an essentials box with you rather than on the truck, and load in order. Illustratively a two-bedroom home fills around forty to fifty boxes, manageable when spread across several weeks.
Packing is where a move is won or lost. Everything else, the truck, the movers, the new lease, rests on how your belongings are boxed, protected, and labeled, and yet packing is the task people put off until the last possible weekend. The result is predictable: fragile things wrapped in a hurry, boxes too heavy to lift, no labels, and a first night spent tearing open cartons looking for a phone charger. The good news is that packing rewards a system more than it rewards effort, and the system is simple enough to run for any home.
This roadmap walks you through packing for a move in eight steps, from building a room-by-room timeline several weeks out to loading the truck with a numbered inventory. It sits alongside our moving-budget roadmap, which prices the supplies and the move itself, our moving-cost roadmap, which shows how packing services and weight change the bill, and our long-distance roadmap, which fits packing into the wider timeline of a big move. The calculator handles the salary side of a relocation while you read, and the companion below estimates how many boxes your home size needs and turns your weeks-until-move into a weekly plan. On a long haul the packing work pays twice, because every pound you shed lowers the weight-times-distance bill our out-of-state moving cost breakdown explains.
Key takeaways
- Start about four to six weeks out and pack in sequence, rarely-used rooms first and daily essentials last, so your home stays livable while you work.
- Declutter before you pack, because every item you sell, donate, or discard is one you do not have to wrap, carry, or unpack, and on a long move it lowers the weight you pay to ship.
- Label every box by room and contents and number it against an inventory, which is how you confirm at the far end that nothing went missing.
- Keep an essentials box with you, not on the truck, so the first night at the new place is survivable without opening anything else.
- Illustratively, a two-bedroom home might fill around forty to fifty boxes, far more manageable spread across several weeks than crammed into a final weekend.
Why packing goes wrong without a system
Packing fails on timing far more often than on skill. Almost anyone can wrap a plate; almost nobody can wrap a whole kitchen well at eleven at night the day before the truck arrives. Left to the last minute, packing collapses into a single overwhelming task, and the shortcuts start: glasses go in loose, boxes get overfilled because there are not enough of them, labels get skipped because there is no time, and the essentials get buried on the truck. Every one of those shortcuts costs you at the other end, in broken dishes, a wrenched back, or an hour spent hunting for the coffee maker.
The second failure is treating packing as one job rather than a sequence. Packing the garage is a different task from packing the kitchen, and they belong in different weeks. When you spread the work out and take it room by room, starting with the things you rarely use, no single day is overwhelming and your home stays functional until the end. The eight steps below turn a daunting pile into an ordered list you can work a little at a time, and they build in the two things a rushed pack always drops: protection for fragile items and a labeling system that makes unpacking sane. For how the packing bill fits the wider move, our moving-budget roadmap prices supplies, deposits, and the truck together.
Before you start: what you need on hand
This roadmap works best if you pin down a few basics first, so each step has real inputs rather than guesses. None of it takes research; it is information you already know or can settle in a few minutes.
- Your move date, or a target week. The date anchors the whole timeline and tells you how many weeks you have to pack. Even an approximate week is enough to start counting backward.
- Your home size. Studio, one-bedroom, two-bedroom, and up, because home size is the main driver of how many boxes and how much padding you need. This sets your supply order.
- A box estimate. A rough count of how many boxes your home will fill, so you buy roughly the right quantity. The companion below estimates this for your home size, and buying a little extra is always safer than running short.
- A place to stage the work. A spare room, a corner of the garage, or a section of the living room where packed and labeled boxes can stack out of the way as you finish each room.
The full pack takes an hour or so to plan and then spreads across several weeks in small sessions rather than one exhausting stretch. There is no special tool required beyond boxes, tape, padding, and a marker. Difficulty is low to moderate, and the main skill is starting early enough that each room gets its own calm session. With the date, the home size, and a box estimate in hand, the eight steps turn them into a schedule and a supply list you can actually work.
Step 1: Start early with a room-by-room timeline
Begin by building a room-by-room timeline, because packing rewards an early start more than almost any other move task. Lock in your move date first, or at least a target week, then count back about four to six weeks and assign rooms to weeks. The organizing principle is simple: pack the rooms and items you use least first, and save the daily essentials for last. That way your home stays livable while you work, and the final box you seal is the first thing you will reach for at the new place.
A workable packing timeline looks roughly like this. Weeks six and five: storage areas, the garage, the attic, off-season clothes, books, and anything you will not miss for a month. Weeks four and three: secondary rooms, guest spaces, decor, and spare kitchen and dining pieces you can live without for a few weeks. Week two: bedrooms, the living room, and most of what remains. Final week: current-season clothing, toiletries, and the kitchen basics you use daily. The last day: the essentials box, packed and kept with you.
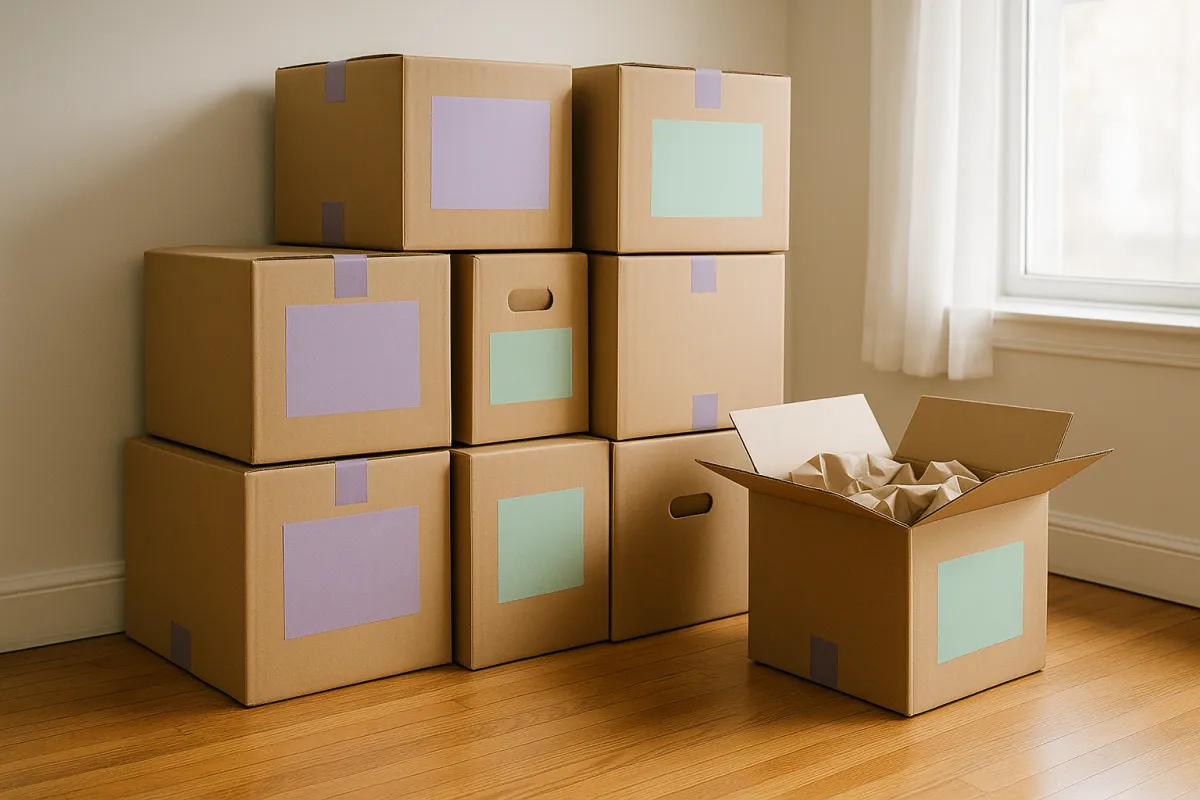
Watch out for the instinct to wait until you feel ready to pack the whole house at once; that day never comes, and the pile only grows. Packing a single low-stakes area, a closet or a bookshelf, in an evening builds momentum and proves the system works. If your move is short-notice, do not abandon the timeline, compress it: run the same room order over one or two weeks instead of six, and lean harder on the decluttering in step two to cut the volume you have to pack at all.
Step 2: Declutter before you pack (sell, donate, discard)
Declutter before you pack a single box, because every item you shed is one you do not have to wrap, carry, unload, or find a place for at the new home. Go room by room as you begin each one, and sort belongings into four piles: keep, sell, donate, and discard. Be honest about what is worth moving. Clothes you have not worn in a year, duplicate kitchen gadgets, books you will not reread, and furniture you were lukewarm on often cost more in effort, and on a long move in shipping weight, than they are worth carrying to the next place.
Selling what has value puts a little cash back toward the move, whether through an online marketplace, a yard sale, or a consignment shop, and it is worth starting early because good items take time to sell. Donating the rest is faster than hauling it across town or across the country, and many charities will collect larger items. Whatever is broken or worn out goes to the discard or recycling pile now, so you are not paying to move trash. On a long-distance move this step pays double, because interstate pricing runs on weight, a point our long-distance roadmap covers in detail.
Illustratively, shedding a heavy bookcase, a bag or two of clothes, and a few boxes of things you will not miss can trim several boxes and a meaningful slice of weight off a move before you have wrapped anything. Watch out for the common trap of decluttering after you have already packed or, worse, at the new place: doing it in that order means you paid to move things you never wanted, and you unpack clutter into a home you were trying to start fresh in. Declutter first, and every later step, supplies, packing, loading, gets lighter and cheaper.
Step 3: Get the right supplies (boxes, tape, and padding)
Gather your supplies before you start packing in earnest, because stopping mid-room to run to the store kills momentum and tempts you into shortcuts. The core kit is short: moving boxes in a few sizes, strong packing tape and a dispenser, padding such as packing paper and bubble wrap, a marker for labeling, and specialty items like wardrobe boxes and dish or cell kits if you need them. Buy a mix of sizes on purpose: small boxes for dense, heavy things like books and canned goods, medium boxes for most rooms, and a few large boxes for light but bulky items like bedding and pillows. Heavy items go in small boxes so nobody has to lift a carton they cannot carry safely.
Estimating quantity is the part people get wrong. As an illustrative guide on the model this roadmap uses, a studio might need around fifteen to twenty boxes, a one-bedroom around twenty-five to thirty, a two-bedroom around forty to fifty, a three-bedroom around sixty to seventy, and a four-bedroom into the nineties. Plan on a few rolls of tape and a generous supply of paper, because under-padding is a false economy that shows up as broken dishes. Buy a little more than your estimate; most suppliers refund unused boxes, and running out is the more expensive problem. The companion below turns your home size into a box estimate and a supply starting point.
Watch out for skimping on tape and padding to save a few dollars, which is exactly where a cheap pack goes wrong. A blown-out box bottom or a shattered glass costs far more than the paper that would have prevented it. Free boxes from stores or neighbors can work for sturdy, non-fragile items, but inspect them for strength and avoid anything damp or flimsy for heavy or breakable loads. Assemble a small kit for each room you are working on, and keep the tape, marker, and paper together so a packing session never stalls for a missing tool. For how the materials line fits the overall budget, our moving-cost roadmap breaks packing supplies out as its own figure.
Step 4: Pack room by room and label everything
Pack one room at a time, and finish it before you start the next, because scattering half-packed rooms across the house is how items get lost and boxes get mixed. Working room by room keeps like things together, makes unpacking logical, and lets you track progress as whole rooms get crossed off. Fill each box with items from a single room, keep it to a weight one person can comfortably carry, and fill any empty space with paper so nothing shifts in transit. A half-empty box crushes under stacking; an overfilled one splits or hurts whoever lifts it. Aim for boxes that are full but liftable, heavy things low and in small boxes, light things in the big ones.
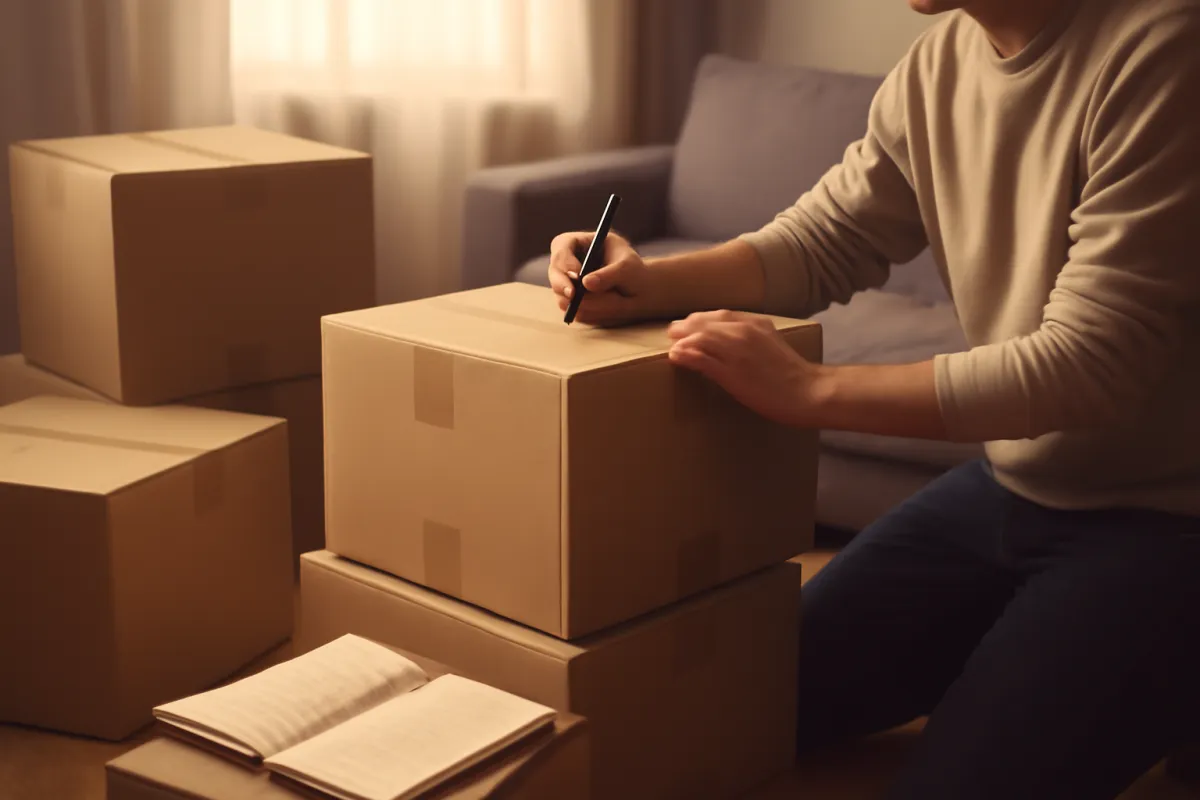
Labeling is the step that pays off most and gets skipped most. Write the destination room and a few words on the contents on the top and at least one side of every box, so a label is visible however the box is stacked. Number each box and jot the number and its contents on a simple inventory list, on paper or your phone, because a numbered list is how you confirm at the far end that every box arrived. Mark fragile boxes plainly on more than one side. Some people add a color code per room with colored tape or dots, which makes it obvious at a glance where each box belongs when it comes off the truck.
Watch out for two habits that undo good packing: labeling only the top of a box, which is invisible once boxes are stacked, and writing something vague like “kitchen stuff” that tells you nothing when you are searching for a specific item. A few extra seconds of detail on the label saves many minutes of digging later. Keep your inventory list somewhere you will not pack it by accident, and update it as you seal each box, so the count is always current and a missing box is impossible to overlook.
Step 5: Protect fragile and valuable items
Give fragile and valuable items their own careful treatment, because this is where a rushed pack does the most damage. The principle is simple: wrap each item individually, cushion the box on every side, and never let hard surfaces touch each other. Line the bottom of a small or medium box with crumpled paper, wrap each glass, plate, bowl, or delicate object in packing paper or bubble wrap, and nestle them so nothing rests directly against another hard item. Fill every gap with more paper until nothing shifts when you gently shake the box, and finish with a layer of padding on top before you close it.

A few specifics matter. Stand plates on their edges like records rather than stacking them flat, because a plate on edge resists the pressure of a stack far better than one lying down. Pack heavier pieces at the bottom of the box and lighter ones on top, and keep fragile boxes on the lighter side overall so they can ride at the top of a stack rather than crushed at the bottom. For electronics, original boxes are ideal; if they are gone, wrap the item well and pad the box generously. Framed art and mirrors travel on edge, wrapped and cornered, never flat where they can be sat on.
Watch out for treating valuables casually. Photograph high-value items before you wrap them, which helps if you ever need to document a claim, and consider carrying irreplaceable things, jewelry, key documents, small heirlooms, with you rather than loading them on the truck at all. On a long-distance move, protection matters even more, because boxes are handled more and travel farther; our long-distance roadmap covers the liability and protection choices that sit alongside good packing. Mark every fragile box clearly, and tell the movers which ones need care, so the work you put in here survives the trip.
Step 6: Pack an essentials and first-night box
Set aside an essentials box, sometimes called a first-night box or open-first box, and treat it as the most important carton of the whole move. It holds everything you will need in the first day and night at the new place before you unpack anything else, and crucially you keep it with you, in your own vehicle, rather than loading it on the truck. The reason is simple: even on a local move you will be too tired to dig through boxes the first night, and on a long-distance move your shipment may arrive a day or several after you do, so the essentials have to travel with you.
A workable essentials list includes medications and any medical supplies, phone and device chargers, a change of clothes for each person, basic toiletries and a towel, important documents, some snacks and water, a few basic tools such as a box cutter and a screwdriver, toilet paper, and whatever a child or a pet needs to get through the night. Many people pack a second small box for the first morning: coffee or tea and a way to make it, a few dishes, a pan, and breakfast basics, so the first day starts with something normal rather than a search through sealed cartons.
Illustratively, one clearly labeled essentials box per person, plus a shared kitchen-morning box, covers most households for the first day without opening a single moving carton. Watch out for the classic mistake of packing the essentials box early and then loading it on the truck by habit; pack it last, label it in a way that stands out, and physically set it by the door or in your car so it cannot be swept onto the truck. Getting this one box right is the difference between a bearable first night and a frustrating one, and it costs you nothing but a little forethought.
Step 7: Handle the heavy and awkward items (furniture, appliances)
Deal with the heavy and awkward items deliberately, because furniture, appliances, and oversized pieces are where injuries and damage happen. Start by disassembling what you can: take the legs off tables, remove headboards and bed frames, take shelves out of bookcases, and detach anything that makes a piece smaller and lighter to move. Keep the screws, bolts, and small hardware for each item in a labeled bag, and tape it to the piece it belongs to or keep it in a single clearly marked hardware box, so reassembly at the new place is not a puzzle with missing parts.
Appliances need their own preparation. Empty, defrost, and dry a refrigerator or freezer well before moving day, because a damp interior grows mold and a full one is dangerously heavy. Disconnect and drain a washing machine, secure or remove the drum per the manufacturer’s guidance, and secure hoses and cords so nothing drags. Wrap large furniture in moving blankets or pads to protect finishes from scuffs, and use stretch wrap to keep drawers and doors closed in transit. Protect floors and doorways at both ends, because a gouged floor can cost you a deposit.
For the actual lifting, use the right tools and technique rather than muscle alone. A dolly or hand truck moves heavy boxes and appliances with far less strain, furniture sliders ease large pieces across floors, and lifting straps help two people share an awkward load. Lift with your legs, keep the load close, and never carry more than you safely can. Watch out for trying to move the heaviest or most awkward items, a piano, a large safe, an oversized appliance, by yourself or with untrained help; for those, hiring movers or specialists is often cheaper than an injury or a broken item. Know your limits, plan the path out the door before you lift, and clear it of obstacles first.
Step 8: Load smart and keep an inventory
Load the truck or container with a plan, because how you load determines what arrives intact and how easily you unload. The general order is heaviest and largest first, along the wall behind the cab: appliances, dressers, and large furniture form a stable base. Then load boxes in tiers, heaviest boxes low and lighter ones on top, filling the space tightly so nothing has room to shift on the road. Stand mattresses and disassembled furniture along the sides, tuck soft items into gaps as cushioning, and save the essentials and the things you will want first for the very back, so they come off the truck first.
Keep your numbered inventory in hand as you load, and check off each box as it goes on. This is the single habit that turns “did everything make it” from a worry into a checklist you can tick off at the far end, and it matters most on a long-distance move where delivery comes days after loading and boxes are handled by people you never meet. Our long-distance roadmap covers the delivery window and the bill of lading that goes with a long-haul load, and your own inventory is the document that protects you inside that process. If movers are loading, walk them through the fragile and priority items and confirm your count against theirs.
Tie down and secure the load so nothing tips or slides, use the truck’s rails and straps, and distribute weight evenly for a stable drive. Watch out for loading loosely with gaps, which lets boxes and furniture shift, bang together, and arrive damaged even when each was packed well. A tight, deliberate load protects the careful packing you did in every earlier step. At the new place, unload in reverse: essentials and first-needed boxes first, then room by room using your labels, checking each numbered box off the inventory as it comes in and noting any damage before the movers leave. Handle this last step with care, and the system you started weeks earlier lands exactly as intended.
A worked example: packing an illustrative 2-bedroom move
Run one realistic pack through all eight steps. The mover: a couple packing a two-bedroom apartment for a move about six weeks out, aiming to do the packing themselves and hire help only for the truck and the heavy furniture.
Step one, they set the date and build a room-by-room timeline: weeks six and five for the hall closet, books, off-season clothes, and the balcony storage; weeks four and three for the guest room, decor, and spare kitchenware; week two for the bedrooms and living room; the final week for the daily kitchen and clothes; the last day for the essentials box. Step two, they declutter first, selling an old dresser and a bike, donating three bags of clothes, and recycling a stack of worn-out items, which trims several boxes before they start. Step three, they estimate their supplies against a two-bedroom home and order accordingly, a mix of small, medium, and a few large boxes, several rolls of tape, and a generous bundle of packing paper, buying a little extra.
Step four, they pack room by room, labeling each box by room and contents and numbering it against a shared inventory on a phone. Step five, they wrap the kitchen glassware and their framed prints carefully, standing plates on edge and marking those boxes fragile. Step six, they pack one essentials box each plus a kitchen-morning box and set them by the door. Step seven, they disassemble the bed and table, bag and tape the hardware, and defrost the small freezer, leaving the heaviest lifting to the hired help. Step eight, they load heavy furniture first, tick each numbered box off the inventory, and keep the essentials in their own car.
On the illustrative model this roadmap uses, their two-bedroom home fills somewhere around forty to fifty boxes, a count that feels overwhelming as a single number but breaks down to roughly eight to ten boxes a week across their timeline, an evening or two of work at a time. That is the shape of the chart below: the box count scales with home size, and spreading it across the weeks is what keeps any single week manageable.
Illustrative boxes needed by home size
A rough box count by home size on this roadmap's illustrative model, to size a supply order. Illustrative, not a guarantee; your count depends on how much you own.
Home size is the main driver of how many boxes you need. Buy a little more than the estimate, mix small boxes for heavy items with larger ones for light bulky goods, and return the unused ones.
How the packing weeks break down
Seeing the timeline as shares makes the point that the early weeks carry as much of the work as the last ones, just on the things you notice less. The rarely-used rooms sit at the front on purpose, because they are easy to pack without disrupting daily life, while the kitchen and daily essentials, the parts that feel like moving, land at the end. Spread this way, no single week is overwhelming.
A room-by-room packing timeline
How the packing work distributes across a roughly six-week window, as a share of the whole. Illustrative model; adjust to your own dates and home size.
The front of the timeline is the low-stakes rooms you can pack without disrupting daily life. Leave them for the end and the whole pack compresses into a stressful final week alongside the kitchen.
Common packing mistakes that cost you
The expensive errors cluster around the same roots: starting too late and skipping structure. Collected in one place, the mistakes that most often derail a pack.
- Starting too late. Beginning the night before, or even the last weekend, guarantees a sleepless scramble where corners get cut, fragile items go in loose, and nothing gets labeled. An early, room-by-room start is the single fix that prevents most of the others.
- Over-packing boxes until they are too heavy. A box crammed with books is a blown-out bottom and a wrenched back waiting to happen. Keep heavy, dense items in small boxes and light bulky ones in large boxes, and stop at a weight one person can carry.
- Packing without labels or an inventory. No labels turns unpacking into a guessing game, and no numbered list makes a missing box impossible to notice. Label by room and contents on more than one side, and number every box against a list.
- Forgetting the essentials box. Skip it and the first night becomes a search through sealed cartons for a toothbrush, a charger, and toilet paper. Pack one essentials box per person, keep it with you, and label it so it never lands on the truck.
- Under-protecting fragile items. Wrapping nothing, nesting glasses without paper, or laying plates flat is how dishes arrive in pieces. Wrap each item, stand plates on edge, cushion every gap, and mark the box fragile.
- Not decluttering first. Packing everything you own means wrapping, carrying, and unpacking things you do not even want. Declutter as you begin each room, so you only pack what earns the trip.
Every one traces back to leaving too little time or skipping the structure that a room-by-room timeline builds in from the start.
Troubleshooting: when packing meets reality
Even a careful plan meets surprises. Here is how to handle the common ones without abandoning the roadmap.
What if my move is last-minute? Compress the same steps rather than skipping them, and let decluttering carry the load. The less you pack, the less there is to move, so donate, sell, and discard aggressively before you wrap anything. Gather supplies in one trip, pack strictly by room so nothing scatters, and use a simplified label of room name plus a fragile mark rather than no label at all. Recruit help if you can, work the rarely-used rooms first, and still set aside an essentials box so the first night is bearable. A rushed pack will not be perfect, but a numbered inventory and clear room labels prevent the worst outcome, arriving unable to find anything.
What if I have especially fragile or valuable items? Give them extra time and better materials, and consider carrying the irreplaceable ones with you rather than loading them at all. For high-value electronics, use original boxes if you have them or double-box with generous padding, and photograph valuables before wrapping in case you need to document a claim. On a long-distance move, our long-distance roadmap covers the protection and liability choices that back up careful packing, which matter more the farther your boxes travel.
What if I am moving from a small space with nowhere to stage boxes? Pack in tight waves and move sealed boxes out of the way against a wall or into a closet you have already emptied, stacking heavy on the bottom. Pack the least-used items first to clear room, break down furniture as you go to free floor space, and if it helps, ask whether the movers or a container can be loaded a little at a time. A small space rewards decluttering hardest, because every item you shed is space you get back immediately.
What if I am moving with kids or pets? Pack their rooms and things last, so their routine stays intact as long as possible, and keep their essentials, favorite toys, comfort items, food, and any records, in a box that travels with you. On moving day itself, arranging for someone to watch young children or pets keeps them safe and lets you focus, since an active move with open doors and heavy items is not a place for either. Explaining the plan to older children and giving them a small, safe task can turn the day from stressful to shared.
Run your own packing plan
Everything above assembles into a method you can run on your own home in a few evenings rather than one exhausting weekend. Set your date and build a room-by-room timeline; declutter as you begin each room; gather the right supplies in the right quantities; pack one room at a time and label every box; protect the fragile and valuable items; set aside an essentials box you keep with you; disassemble and prepare the heavy items; and load with a numbered inventory. The same sequence works whether you are packing a studio or a four-bedroom house, only the number of boxes and weeks changes.
The companion beside this roadmap sizes the job for you. Choose your home size and the weeks until your move, and it returns an illustrative box count, a rough split of small, medium, and large boxes, and a plain-language weekly plan that tells you roughly how many boxes to pack each week to stay on schedule. Change the weeks and watch the weekly pace shift; change the home size and watch the box count move. Pair it with the calculator for the salary side of a relocation and our moving-budget roadmap for the cost of it all, and the vague dread of “how will I ever pack this whole place” becomes a dated schedule and a supply list you can act on.
Your packing checklist
Use this as the save-this version, the compact list you can run for any move.
- 4 to 6 weeks out: build a room-by-room timeline, and pack storage, the garage, books, and off-season items first.
- As you start each room: declutter into keep, sell, donate, and discard piles, so you only pack what earns the trip.
- Before packing in earnest: gather boxes in mixed sizes, plenty of tape and padding, a marker, and any specialty kits, buying a little extra.
- Every box: pack by room, keep it liftable, fill gaps with paper, label by room and contents on more than one side, and number it against an inventory.
- Fragiles: wrap each item, stand plates on edge, cushion every gap, mark the box fragile, and photograph valuables before wrapping.
- Last day: pack an essentials box per person plus a kitchen-morning box, and keep them with you, not on the truck.
- Heavy items: disassemble what you can, bag and label the hardware, prepare appliances, and use a dolly and proper lifting.
- Loading: heaviest first, load tight, tie down, check each numbered box off the inventory, and note any damage before the movers leave.
Print it, screenshot it, or rebuild it in the companion; the format matters less than starting early enough that each line has room to breathe.
The bottom line
Packing for a move comes down to starting early and working a system: build a room-by-room timeline, declutter before you pack, get the right supplies, pack room by room and label everything, protect the fragile and valuable items, keep an essentials box with you, prepare the heavy and awkward pieces, and load smart with a numbered inventory. Taken one room at a time from several weeks out, packing stops being the frantic final task and becomes a series of small, finished jobs, and your belongings arrive intact and findable rather than broken and scattered. Illustratively, a two-bedroom home might fill around forty to fifty boxes, which is far more manageable spread across the weeks than crammed into a final weekend. Size the job with our moving-budget roadmap and moving-cost roadmap, fit it into the wider timeline with our long-distance roadmap, and let this one turn a daunting pile into a schedule you can actually work.
This roadmap is published by the ReloPeak desk for education, not as a quote, a moving contract, or professional advice. Every figure in it, the box counts, the weekly shares, and the timelines, is illustrative, chosen to show how the pieces of a pack fit together rather than to predict your own numbers; what you actually need moves with how much you own, your home size, and the move you are making. Packing methods for high-value, oversized, or specialty items vary, and some belongings are better handled by professionals, so treat the guidance here as a starting point to adapt to your own move rather than a rule that fits every situation, and confirm appliance and equipment steps against the manufacturer’s own instructions before you rely on them.
Frequently asked questions
How do I pack for a move?
Work backward from your move date and pack in a sequence rather than all at once. Start early with a room-by-room timeline, declutter so you only pack what you actually want to move, get the right supplies in the right quantities, then pack one room at a time and label every box by room and contents. Protect fragile and valuable items with real padding, set aside an essentials box you keep with you, handle the heavy and awkward pieces last, and load the truck with a numbered inventory so you can confirm nothing is missing at the far end. Taken one room at a time, packing turns from a frantic final weekend into a series of small, finished tasks. Illustratively, a two-bedroom home might fill somewhere around forty to fifty boxes, which is far more manageable spread across several weeks than crammed into the last two days.
How far in advance should I start packing for a move?
For most moves, starting to pack about four to six weeks out is a workable target, and earlier for a large household. You do not pack everything at once: you begin with the rooms and items you rarely touch, such as storage, off-season clothes, books, and spare kitchenware, and work forward to daily essentials in the final days. This staged approach means the last thing you pack is the first thing you will need at the new place. If your move is short-notice, start immediately and lean harder on decluttering to cut the volume, because every item you do not pack is one you do not have to wrap, carry, or unpack. Even a compressed one-week version of the plan beats improvising the night before.
How many boxes do I need to pack for a move?
There is no single number, because it depends on your home size and how much you own, but an illustrative range helps you buy supplies. On the model this roadmap uses, a studio might fill around fifteen to twenty boxes, a one-bedroom around twenty-five to thirty, a two-bedroom around forty to fifty, a three-bedroom around sixty to seventy, and a four-bedroom into the nineties or more. Mix small boxes for dense, heavy things like books, medium boxes for most rooms, and a few large boxes for light, bulky items like bedding. Buy a little more than you think you need, because running out mid-pack stalls the whole effort, and most suppliers take back unused boxes. The companion below estimates a box count for your own home size.
What should I pack first when moving?
Pack the things you use least first, and save daily essentials for last. Start with storage areas, the garage, the attic, and closets full of items you will not miss for a few weeks: off-season clothes, extra linens, books, decor, and spare kitchen and dining pieces. Then move to secondary rooms, guest spaces, and anything decorative. Leave the kitchen basics, current-season clothing, toiletries, medications, and the things you use every day until the final days before the move. Packing in this order keeps your home livable while you work and means you are not digging through sealed boxes for a coffee maker or a phone charger. The very last items you pack should be the essentials box you keep with you rather than load on the truck.
How do I pack fragile items for moving?
Wrap fragile items individually, cushion the box on all sides, and never let hard surfaces touch. Line the bottom of a small or medium box with crumpled packing paper, wrap each glass, plate, or delicate item in paper or bubble wrap, and stand plates on their edges rather than stacking them flat, which resists pressure better. Fill every gap with more paper so nothing shifts when the box moves, place heavier pieces at the bottom and lighter ones on top, and do not overfill to the point the lid bulges. Mark the box fragile on more than one side, keep it toward the top of any stack, and photograph high-value items before they are wrapped in case you ever need to document a claim. Dishes, glassware, electronics, and framed art all reward a slower, more careful pack.
What should go in a moving essentials box?
An essentials or first-night box holds everything you will need in the first day at the new place before you unpack anything else, and you keep it with you rather than on the truck. A common list includes medications, phone and device chargers, a change of clothes for each person, basic toiletries, a towel, any important documents, some snacks and water, basic tools, toilet paper, and whatever a child or pet needs. The point is to arrive able to function through the first night without opening a single moving box, which matters most when a delivery arrives a day or several after you do on a long-distance move. Pack it last, load it in your own vehicle, and label it clearly so it does not get swept onto the truck by mistake.
How do I pack a house quickly for a last-minute move?
For a last-minute move, compress the same steps rather than skipping them, and let decluttering do the heavy lifting. Triage ruthlessly: the less you pack, the less there is to move, so donate, sell, or discard aggressively before you wrap anything. Gather supplies in one trip, pack by room so nothing gets scattered, and use a simplified labeling system, even just the room name and a fragile mark, because some labeling beats none. Recruit help if you can, focus first on the rooms you use least, and still set aside an essentials box so the first night is bearable. A rushed pack will not be perfect, but a numbered inventory and clear room labels prevent the worst outcome, which is arriving unable to find anything.
What are the most common packing mistakes when moving?
The expensive ones cluster around starting too late and skipping structure. Beginning the night before guarantees a sleepless, error-filled scramble where fragile items get thrown in loose. Over-packing boxes until they are too heavy to lift safely leads to blown-out bottoms and hurt backs, so keep heavy items in small boxes. Packing without labels turns unpacking into an archaeology dig and makes a missing box impossible to notice. Forgetting an essentials box means tearing open sealed cartons at midnight looking for a toothbrush. And under-protecting fragiles, wrapping nothing or nesting glasses without paper, is how dishes arrive in pieces. Nearly every one traces back to leaving too little time, which is exactly what an early, room-by-room timeline prevents.